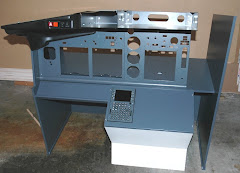
On the bright side, my business trip got cancelled! Whey hey! Bad news, my sister is stuck in Boston with 3 kids trying to get back to England. Boo!
Have made some slow progress on the yoke. First step was to secure the control wheel to the yoke head housing. I did this with the afore documented wooden bung, added a PVC spacer made out of irrigation pipe (that's the white bit in the photo), added the arm previously drilled for the tensioning springs, drilled a new hole in the top of the tube for the fixing plug (it secures the arm to the rod) and a one in the bottom to pass through the wire from the control handle. End result is this:
Forgot to mention, before I put it all together I applied a liberal amount of grease between the control wheel and the wooden bung... Inserted the assembly into the control head and slotted a pulley onto the rod. It's a good friction fit but note the notch I cut into the pulley so that it fits over the fixing plug. This way the pulley can't slip when the rod rotates:
So the plan is to fix the roll potentiometer to the housing and run the belt around it and the big pulley. Will work on that later this week and will report on results. In the base of the yoke, I have the elevator potentiometer in a test set up, will affix it later and let you know how it works.
And can you believe it's raining again in San Francisco?


No comments:
Post a Comment